Pandemic = less trips to the salon. Here’s everything you need to know to get awesome looking gel nails right at home!
Confession: I haven’t been to the nail salon in over 6 months. I wasn’t a “regular” at nail salons, but I would go every now and then for some “me” time and because I just love having painted nails! Back in high school, I would paint my nails every Sunday as a weekly tradition so my nails would look perfect for the week. But sometimes regular nail polish doesn’t last the whole week. Instead, it lasts more like three days. That was until I discovered gel nails.
How Long Do Gel Nails Last?
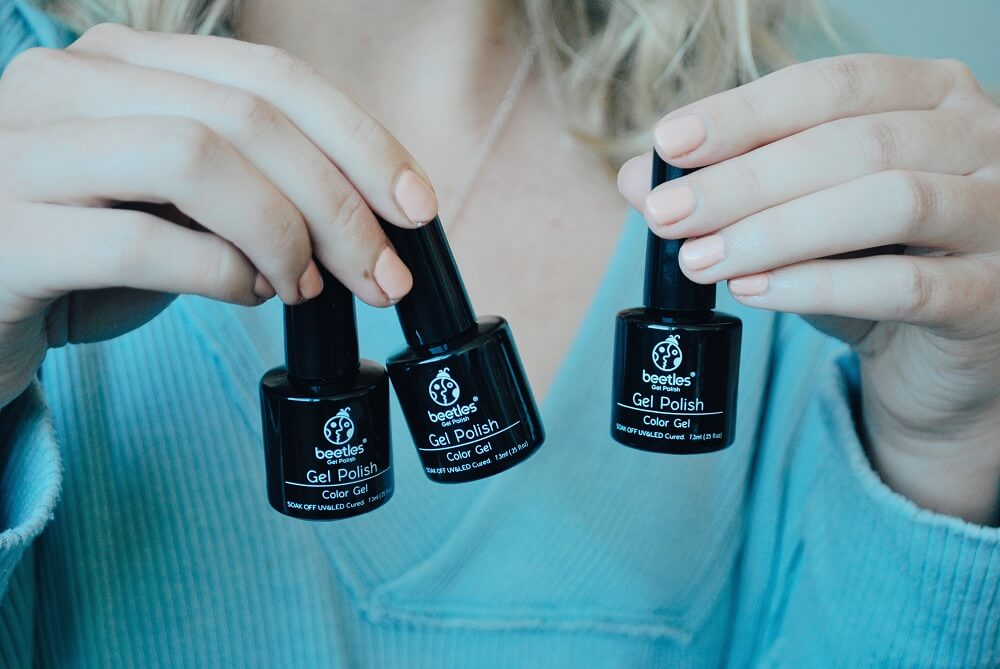
Gel nail polish is just like normal polish, but it’s cured under a UV lamp and hardens. It’s nothing new to the beauty industry. What makes them great is they last about two weeks, sometimes three depending on how fast your nails grow. I love getting gel nails before I go on vacation, or if I know I’m going to more events or gatherings (not so much nowadays). But something to note is getting them done at the salon can be pretty expensive, especially if you go every 2-3 weeks. Paying $40 plus tip every time definitely adds up! So if you’re looking for a more inexpensive way to do your own gel nails at home, keep reading!
Kits & Supplies You Can Get In No Time
Amazon has several gel nail kits that come with all the tools you need to do gel nails in the comfort of your own home. They even include a few polishes so you can start right away. Amazon also sells UV lamps separately so you could buy any brand of gel polish. However, if you’re new to doing your nails at home, I would recommend buying the kit so you have all the right tools. This one I use is only $35, practically the price of one time at the nail salon!
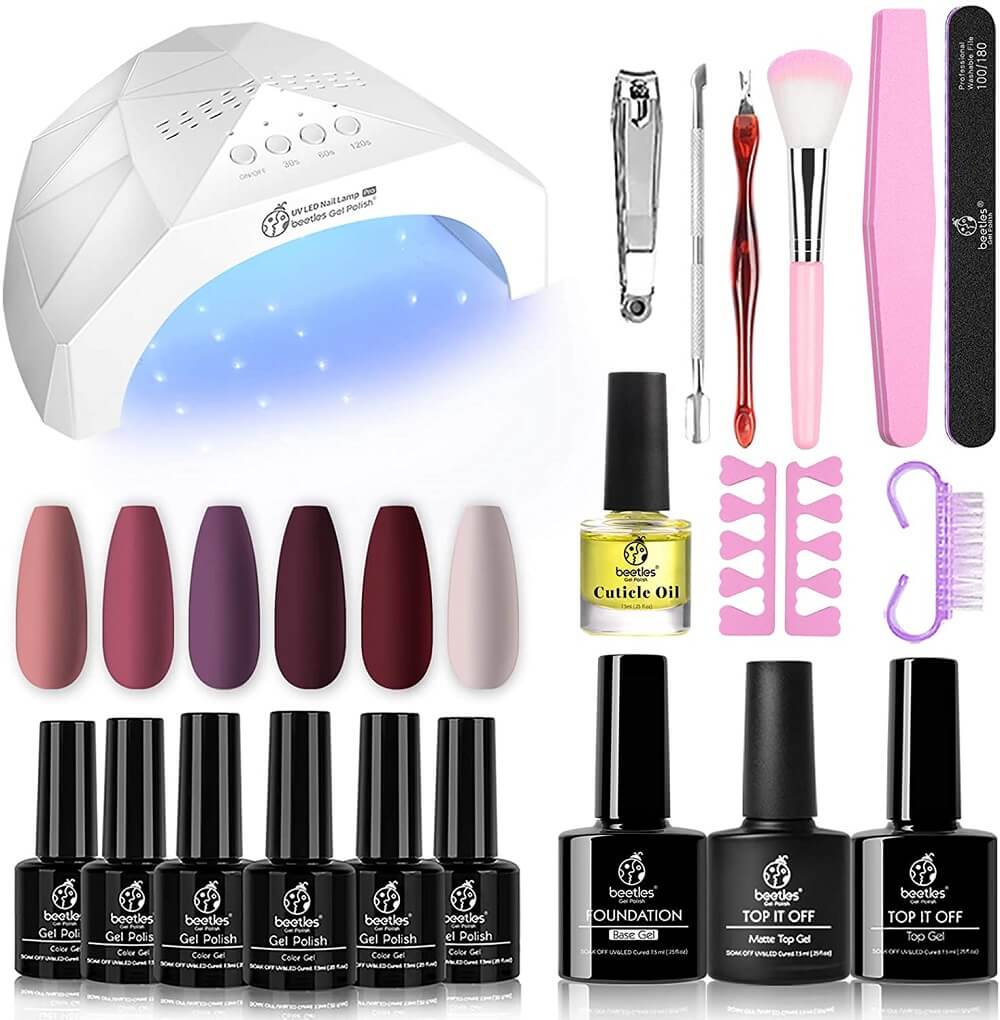
This starter kit comes with:
• UV/LED Lamp
• 6 Full-size gel nail polishes
• Base and topcoat
• Manicure tools such as nail trimmers, cuticle oil, and nail file.
DIY Gel Manicure
Most kits come with step-by-step instructions, and you want to make sure you don’t skip a step. The prep is crucial to getting your manicure to last long and prevent chipping or peeling. Before you start painting, you want to make sure your nails are completely dry. The more oils on your nails, the more likely the gel will peel off. Follow the prep instructions, and then begin painting! Since the UV lamp will harden the polish, you want to try not to paint your skin or cuticles. This comes with lots of practice, but once you get the hang of it, you will be a pro in no time!

How to Remove Gel Nails
First, you want to gently scrape the top of your nails with a nail file. Then, soak a cotton ball with nail polish remover, preferably one with a high concentration of acetone. Wrap tin foil around the cotton ball and your nail and secure tightly. Leave for about 10-20 minutes and then remove any excess with more nail polish remover.
And that’s it! You’ve successfully done your own nails at home and won’t need to touch them up every single day!
Have you tried gel nails? Do you have a routine that you follow for doing nails at home? I’d love to hear about it in the comments!